3D Modeling Exercise

17/04/20- 17/05/20 (Week 1- Week 9)
Riyaz Mohamed Zain ( 0334031)
3D Modeling
Exercises
Riyaz Mohamed Zain ( 0334031)
3D Modeling
Exercises
LECTURE NOTES
Briefing
17/04/20 (Week 1)
Mr. Kanna briefed us on the requirements for the module. He told me what we will be doing for each project. Project 1 will be to create a mechanical or hard surface model. Project 2 will require us to make an organic model, something that can be found in nature. The final project will be to create a model that tells a story.
Lecture 1
24/05/20 (Week 2)
We learned how to operate and work Maya. Mr. Kannan also showed us some shortcuts to operate Maya easier.
INSTRUCTIONS
EXERCISES
Week 1
17 April 2020
Exercise 01
Exercise 01
The first exercise was to make a set of chess pieces excluding the horse. We were asked to look for a good reference photo to sculpt from.
 |
| Fig 1.1 Reference |
I had some trouble in the beginning but as I kept working I got a little bit more used to using Maya.
Here is the final outcome of this exercise.
 |
| Fig 1.2 Chess pieces |
 |
| Fig 1.3 Chess pieces |
Week 2
24 April 2020
Exercise 02
Exercise 02
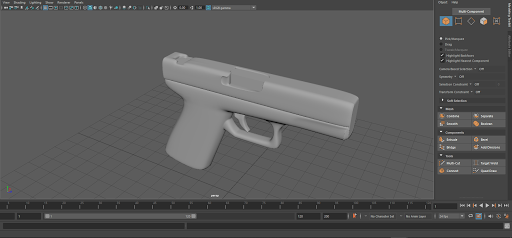
our second exercise was to model a simple handgun. After looking up I decided to model A Glock.
 |
| Fig 2.1 Gun Reference |

I started ou by simply blocking out the outer shape of the gun based on the reference.
 |
| Fig 2.3 Gun Blockout |
After I got an initial block out of the gun I started to slowly add details.
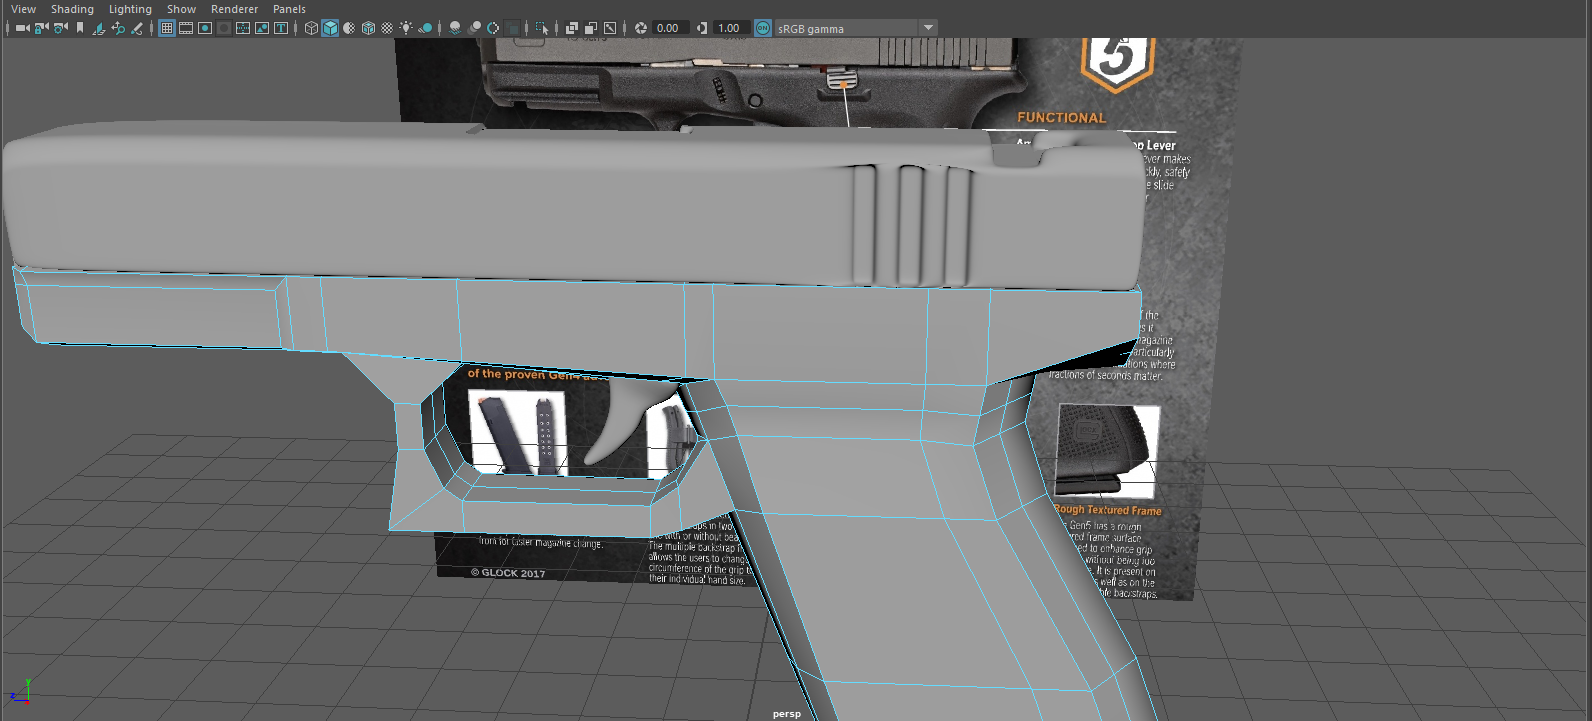 |
| Fig 2.5 Encountered problem with detailing mesh |
 |
| Fig 2.6 Initial detailing an attempt |

Week 3
30 April 2020
Exercise 02
Exercise 02
Mr. Kannan advised me last week that in order to fix the detailing issue I will need to move back a little and clean the mesh first. So I did this and restarted to gun detailing paying close attention to the mesh.
 |
| Fig 3.1 detailing the gun |
 |
| Fig 3.2 Closeup details front |
 |
| Fig 3.2 Closeup details back |

 |
| Fig 3.4 Final detailed Gun |

Week 4
08 May 2020
Exercise 02
Exercise 02
Mr. Kannan taught us how to render the final gun model. Here is the final rendered version of the gun model.
 |
| Fig 4.1 Final rendered gun |

 | |
|
Week 5
15 May 2020
This week we were taught how to add textures and material to objects. Mr. Kannan taught us a method that allowed us to project any kind of texture onto the model. but in order to accomplish this, we need to make a UV map. I started by making 3 simple cubes to be used as the model.
 |
| Fig 5.1 Making the model |
After the model was made I inserted a simple texture onto the model but the alignment was not right. The UV need
 |
| Fig 5.2 Making UV map |
After making the UV map I then took it into photoshop to add the texture
 |
| Fig 5.3 Importing UV map into Photoshop |

After the texture was added in photoshop it imported into Maya to be projected onto the models. In order to prevent the model from being completely flat, I played around with displacement settings.
 |
| Fig 5.5 First Model textured |

 |
| Fig 5.7 Experimenting with other textures |
Using the method Mr. Kannan asked us to add some textures onto the gun. Instead of making a realistic gun, I decided to experiment and see what I can do with the textures.
 |
| Fig 5.8 Adding Texture to the gun |
 | |
|
 | |
|
Week 9
12 June 2020
After Finishing Our project 1 we started with Zbrush. Mr. Kannan explained the interface and how we can model in Zbrush. After this, he assigned u to sculpt ahead to practice using Zbrush. I searched up some video to get an idea of how to go about this exercise and followed the instruction to sculpt a monster head. Here is the progress of making the sculpt.
 |
| Fig 6.1 Started with a simple Blockout |
 |
| Fig 6.2 Adding details starting with the mouth |
 |
| Fig 6.3 Adding the final details on the head. |
 |
| Fig 6.4 Final Sculpt Back |
 Fig 6.5 Final Sculpt Side profile |
 |
| Fig 6.7 Final Sculpt front view |


Comments
Post a Comment