07/01/20- (Week 1-)
Riyaz Mohamed Zain ( 0334031)
Information Design
Exercises
LECTURE NOTES
Lecture 1 - Briefing
07/01/20 (Week 1)
Mr. Kannan and Ms. Anis briefed us on the assignments. After the briefing, they put us into groups and informed us that every week we will be presenting on Flip topics for our lectures.
Presentation
10/01/20 (Week 1)
For our First Presentations, we were told to present about Manuel Lima's 9 Directives Manifesto.
Lecture 2 -
14/01/20 (Week 2)
Ms. Anis briefed us on our second Flip Presentation which is on L.A.T.C.H. After which we were given the instructions for our second Exercise which is to make an Infographics poster about 4 Pokemon. Mr. Kannan told us about the mood boarding methods and sketching down ideas,
Presentation
17/01/20 (Week 2)
INSTRUCTIONS
EXERCISES
Week 1
Exercise 01
For our First individual exercise, we had to collect data from a set of buttons. First, we were asked to sort the buttons and categorize them.
 |
| Fig 1.1 First Sorting of buttons. |
My initial categories were according to size, texture, and number of holes. To further simplify the categories I rearranged my buttons and dived them into 2 main parts, 2 holed and 4 holed. In these categories were subcategories arranging them in order of size and texture. This new arrangement made it easier to understand the information.
 |
| Fig 1.2 Categorized buttons. |
With the information, we were then asked to create an infographics poster that explained the categorization of the buttons.
 |
| Fig 1.3 Final Poster |
Week 02
Exercise 02
The 2nd exercise was to produce an infographics poster on 4 Pokemon's of our choice. We were to make use of the knowledge gained from our previous Flip presentation, the L.A.T.C.H. principles. Being completely unfamiliar with the Pokemon series I had to do alt of research to choose the right Pokemon's and the right Generation. After some research, I decided to do my Poster on the Pokemon X & Y series.
 |
| Fig 2.1 The Pokemon's I chose. |
The Pokemon's I Chose came from the Kalos region. With the Pokemons and the regions selected I now had to decide the sketch out the design of the poster. I knew that I wanted to approach the project at a different angle and not use a map cross-section. So I started searching up to find a way to show Pokemon Information and found the Pokedex. The Pokedex is the device that displays information about Pokemon's in the cartoon.
 |
| Fig 2.2 The Pokedex used in the Kalos region. |
With an idea in mind, I began sketching to come up with how I would compose the final poster.
 |
| Fig 2.3 Sketch 1: Idea generation |
 |
| Fig 2.4 Sketch 2: Idea generation |
|
 |
| Fig 2.3 Sketch 3: Idea generation |
|
After the sketches, I began the process of digitizing the Poster.
 |
| Fig 2.4 Drawing the Pokedex. |
 |
| Fig 2.5 Adding the Kalos map on the Pokedex |
I started them off by drawing the Pokedex on to which I put the Map of Kalos. I image traced the map of Kalos and simplified it so it would the design of the Pokedex.
 |
| Fig 2.6 The map put onto the Pokedex to look like hologram |
 |
| Fig 2.7 Naming and separating the different regions of Kalos |
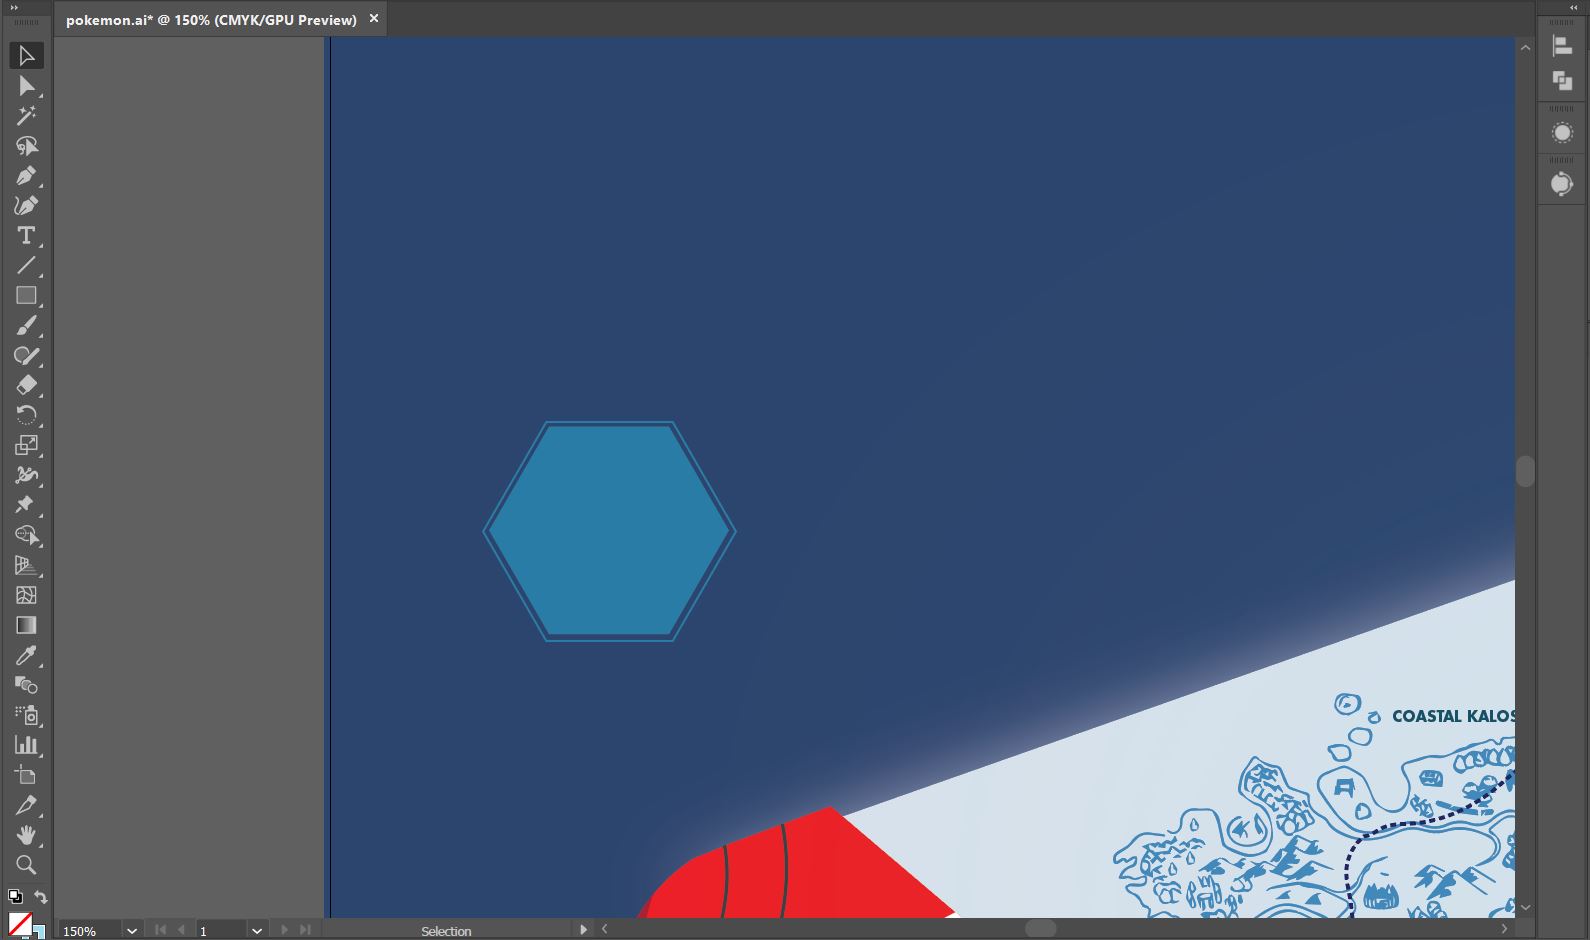
After putting the Map on the Pokedex, I separated the maps into the different regions of Kalos from which I had selected the Pokemon's. I wanted the display if the Pokemon's to look somewhat like a hologram. So I decided to go with the color pallet.
 |
| Fig 2.8 Hologram Tile design Process |
 |
| Fig 2.9 Hologram Tile design Process |
|
 |
| Fig 2.10 Hologram Tile arrangement for the Pokemon evolution, |
|
I designed hologram tiles to display the Pokemon's and their evolution. the tiles were then duplicated to show the evolution of each Pokemon.
 |
| Fig 2.11 Adding the Pokemon to the Hologram tiles |
 |
| Fig 2.12 Arranged all the Pokemon |
 |
| Fig 2.13 Linking the Pokemon's with their regions. |
Then I moved onto placing the remaining tiles and Pokemon's near their respective regions of origin. I then linked the Pokemon to these regions to show exactly where they came from. I wanted to display more information about the Pokemon's so I started did more research and found that each Pokemon belonged to a certain type. This was detonated by a symbol that represented which type they belonged to.
 |
| Fig 2.14 The symbols for the different Pokemon types. |
 |
| Fig 2.15 Adding space to display the Pokemon type |
 |
| Fig 2.16 Making simplified versions of the Pokemon symbols. |
Before adding the symbol I simplified them and made them white so it would fit the overall design of the poster. I then added text on top of the Pokemon tiles to show the names of each Pokemon.
 |
| Fig 2.17 Final poster Design |


Comments
Post a Comment