Video and Sound Production Project 2

23/10/19 – 30/10/19 (Week 5 – Week 6)
Riyaz Mohamed Zain ( 0334031)
Video and Sound Production
Video and Sound Production
Project 2
INSTRUCTIONS
Week 05
For this Project we were to re enact a commercial that Mr martin gave. Our class was to work together in a group to create the commercial . Out of the 2 Given choice of commercials our group decided to choose the Horror video.
For the purpose of the project we were all given positions ad each position had to overlook a specific task.
Producer - Joe
Art Director - Zain
Assistant art director - Arletta
Director - Ryan
Assistant director - Ava
Actor - Qaezie/Zhang YiXiang
Camera - Ehti
Assistant camera - Melvin
Lighting - Jason/Ting
Sound - Alex/Nizam
Mr martin gave us the story board which split up various scenes in the video.
Before the day of the shooting we decided to organize the story board so that so that we could cover all the shots in the same location in one go. This was to speed up the shooting and avoid onstantly shifting the set backgrounds.
 |
| Fig 1.1 Story Board |
 |
| Fig 1.2 Story Board |
We did our shooting in the design studio of Taylor. My role as an art director was to prepare the props for the settings, making he background setup and deciding the location of the shooting.
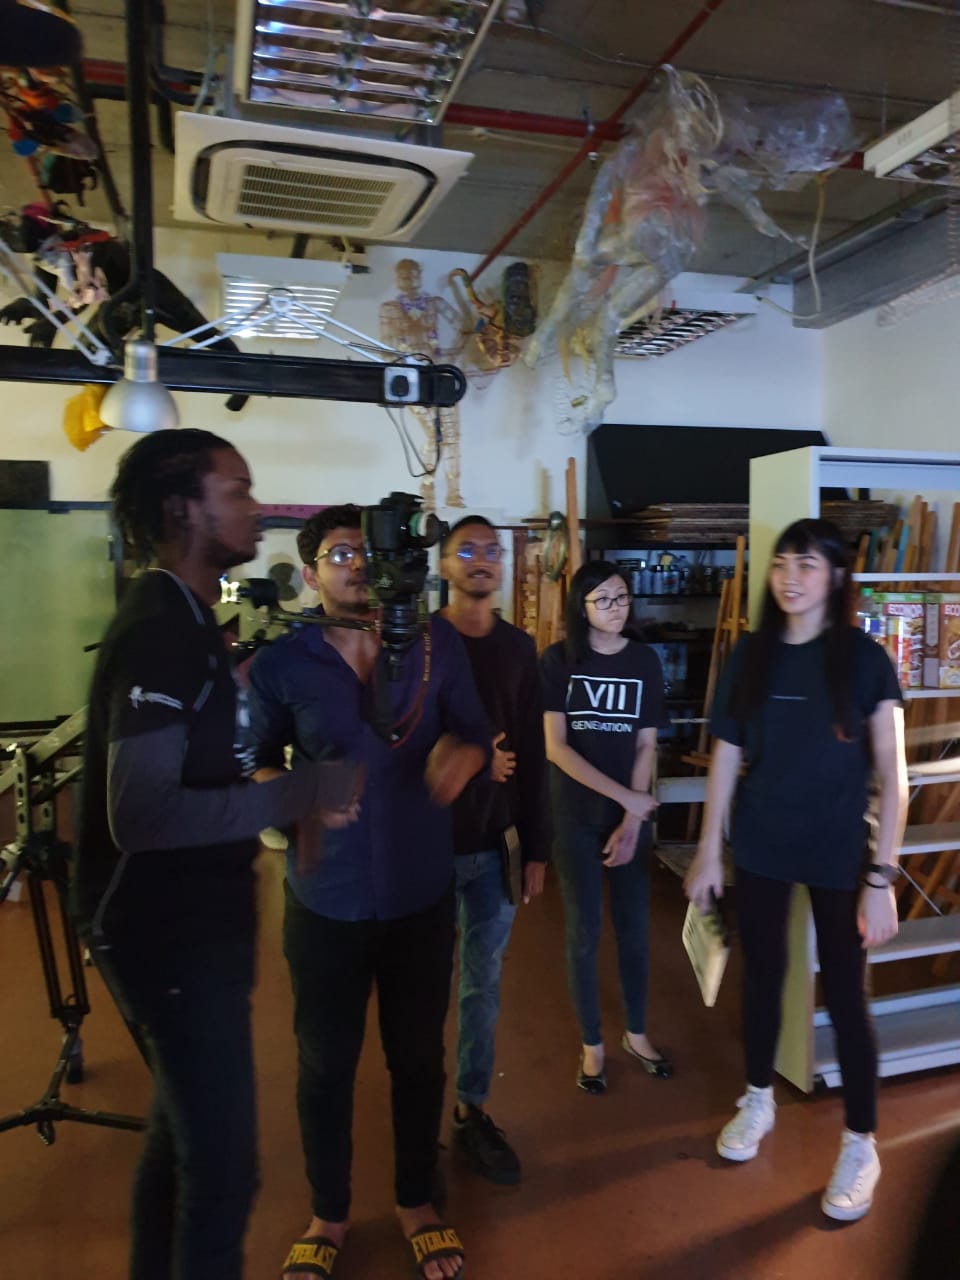 |
| Fig 1.3 Behind the scenes Photos. |
 |
| Fig 1.4 Behind the scenes. |
It took 9 hours for the entire shooting process. After the shooting we set up the the dual mic recorder in the room for 3 mins to record the ambient sound.We used this to cover up areas in our gaps in the audio recordings.
Post Production.
We were told that the post production editing was to be done individually. During the post production stage we were to match the audio, do color corrections and add background music in order to match the video to the original as close as possible.
 |
| Fig 1.5 Arranging the audio and video files |
I started by arranging the the files according to storyboards and matching the audio files to the video. After arranging the clips I adjusted the video to match the length of the Original clip.
 |
| Fig 1.6 adding a light Flicker |
 |
| Fig 1.7 Strobe light effect Panel |
In the original video there was flicker of lights that can be seen through out video. In order to create this effect I used the strobe light effect. I made a new adjustment layer and then added the effect to create a light flicker over the video. I then reduced the opacity because I wanted the light to to be very subtle.
 |
| Fig 1.8 Color Correction |
Using the lumetri scope I adjusted the color to make the video more dynamic and add the spooky effect. Below is a comparison of the video before and after the correction.

https://www.youtube.com/watch?v=LwjzmdiRFpc
https://www.youtube.com/watch?v=qMg-8rzAwB4
https://www.youtube.com/watch?v=zclD93VnpEw
 |
| Fig 1.9 Adding audio in Premiere Pro |
In order merge the different audio clips I used audio transition such as Constant gain and Exponential fade. After I finished adding the audio clips I realized that some parts were drowning out the voice of from the original clip. So I exported it into Adobe Audition.
 |
| Fig 1.10 Editing in Audition |


Comments
Post a Comment